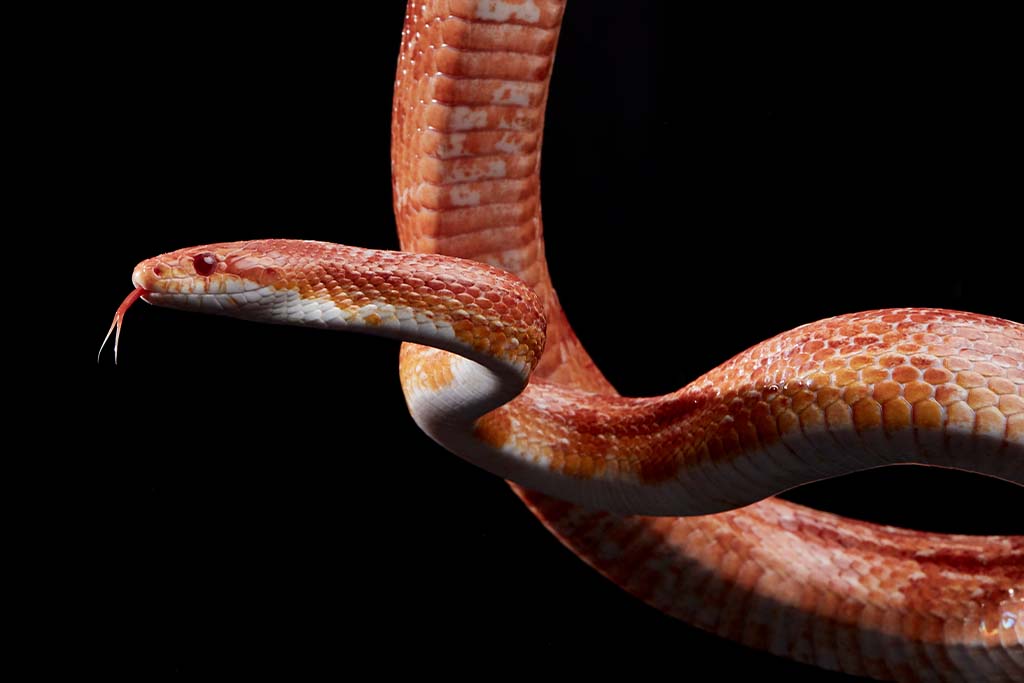
Photographing your corn snake can be a rewarding experience, allowing you to capture the beauty and unique characteristics of these fascinating reptiles. Whether you’re a seasoned photographer or a novice, understanding the nuances of photographing your corn snake will help you create stunning images that showcase its vibrant colours and intricate patterns. This article will explore the best techniques, tips, and equipment needed to photograph your corn snake successfully, along with practical advice for creating a conducive environment for your photoshoot.
Understanding Your Corn Snake
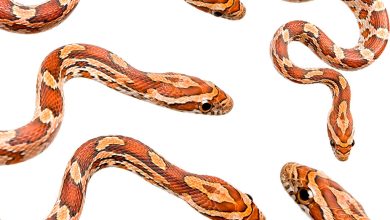
Before diving into the world of photography, it’s essential to understand your corn snake’s behaviour and characteristics. Corn snakes (Pantherophis guttatus) are non-venomous constrictors native to North America, known for their docile nature and vibrant colours. They come in various morphs, displaying a wide array of colours and patterns, from bright orange to deep red, often with striking patterns of black and white.
Understanding their behaviour can help you choose the right time to photograph them. Corn snakes are crepuscular, meaning they are most active during dawn and dusk. Therefore, these times can provide excellent opportunities for capturing your snake in a more dynamic and natural state.
Preparing for the Photoshoot
1. Choosing the Right Equipment
When photographing your corn snake, the equipment you use can significantly impact the quality of your images. Here’s a list of essential gear to consider:
- Reflectors: Reflectors can help bounce light onto your snake, illuminating its features without causing harsh highlights.
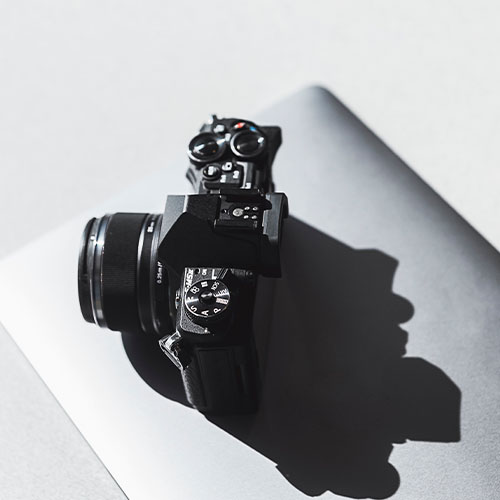
- Camera: A digital single-lens reflex (DSLR) or mirrorless camera will provide the best results due to their superior image quality and versatility. However, a good-quality compact camera can also do the job if you are just starting.
- Lens: A macro lens is ideal for close-up shots, allowing you to capture intricate details of your corn snake’s scales and features. A lens with a focal length between 60mm to 100mm is suitable for this purpose.
- Tripod: Using a tripod will help keep your camera steady, especially during low-light conditions or when using slower shutter speeds.
- Lighting: Natural light is preferable for photographing snakes. However, if you’re shooting indoors or during low light, consider using softbox lights or LED panels to avoid harsh shadows.
2. Setting Up the Environment
Creating a suitable environment for your photoshoot is vital to achieving stunning images. Consider the following:
- Location: Choose a location with plenty of natural light. An outdoor setting can provide beautiful, diffused light, especially in the early morning or late afternoon.
- Background: A simple, uncluttered background will help your corn snake stand out. Consider using a plain piece of fabric or cardboard in a complementary colour to your snake. If you’re shooting outdoors, look for natural elements like rocks, grass, or branches that can enhance the image without distracting from the subject.
- Temperature and Humidity: Ensure your corn snake is comfortable during the shoot. Snakes are ectothermic and rely on external heat sources to regulate their body temperature. If you’re shooting outdoors, choose a location that isn’t too hot or cold, and avoid direct sunlight to prevent overheating.
- Time of Day: As mentioned earlier, early morning and late afternoon are ideal times for shooting. The softer light during these hours can create beautiful, warm tones in your images.
Capturing the Perfect Shot
1. Angles and Composition
When photographing your corn snake, experimenting with different angles can lead to unique and captivating images. Consider the following:
- Eye Level: Getting down to the snake’s eye level can create a more intimate and engaging perspective.
- Close-ups: Use a macro lens to capture the intricate details of your snake’s scales, eyes, and tongue.
- Full Body Shots: Capture your snake in its entirety to showcase its length and unique patterns.
- Leading Lines: Look for natural lines in the environment, such as branches or pathways, to guide the viewer’s eye toward the snake.
2. Focusing on the Eyes
The eyes are often the most expressive part of any animal photograph. When photographing your corn snake, ensure the eyes are in sharp focus. Here are some tips:
- Focus Manually: In some cases, auto-focus may not be reliable, especially with smaller subjects. Consider switching to manual focus to ensure the eyes are sharp.
- Use a Wide Aperture: A wide aperture (e.g., f/2.8 or f/4) can create a shallow depth of field, helping the snake stand out against the background.
3. Timing and Patience
Corn snakes can be unpredictable, so patience is key. Allow your snake to acclimate to its surroundings before attempting to photograph it. Watch for moments when it’s active, such as flicking its tongue or exploring its environment. Be prepared to capture these moments when they happen.
4. Experiment with Different Settings
Don’t be afraid to experiment with your camera settings. Consider the following adjustments:
- ISO: In low light conditions, increase your ISO to ensure a faster shutter speed. However, be cautious as higher ISO settings can introduce noise to the image.
- Shutter Speed: If your snake is moving, use a faster shutter speed (e.g., 1/250 sec or faster) to freeze the action.
- Aperture: Adjust your aperture based on the desired depth of field. A wider aperture will create a blurred background, while a narrower aperture will keep more of the image in focus.
Editing Your Photos
Once you’ve captured your images, the editing process can enhance your photographs and bring out the best in your corn snake’s features. Here are some essential tips for editing:
- Crop and Straighten: Use cropping tools to eliminate distracting elements and improve composition. Straightening your images can also enhance the overall aesthetic.
- Adjust Exposure and Contrast: Fine-tune the exposure and contrast to ensure your snake stands out. Adjusting these settings can also help highlight colours and patterns.
- Enhance Colours: Use saturation and vibrance adjustments to bring out the natural colours of your corn snake. Be careful not to overdo it, as this can lead to unrealistic results.
- Sharpen Details: Apply a subtle sharpening effect to enhance the details in your images. This step can help make the scales and features of your snake more defined.
- Remove Distractions: Use the clone or healing tool to eliminate any distracting elements in the background or on the snake.
Ethical Considerations
While photographing your corn snake can be a delightful experience, it’s crucial to prioritise the well-being of your pet. Here are some ethical considerations to keep in mind:
- Avoid Stress: Be mindful of your snake’s comfort during the photoshoot. If it appears stressed or uncomfortable, it’s best to stop and allow it to relax.
- Handling: Limit handling before the shoot, as excessive handling can lead to stress. Instead, allow your snake to acclimate to the environment naturally.
- Do Not Disturb: If photographing outdoors, be cautious not to disturb the natural habitat. Avoid trampling plants or disturbing wildlife in the area.
Showcasing Your Work
Social Media: Share your images on platforms like Instagram, Facebook, or Pinterest. Join groups or communities dedicated to reptile photography to connect with like-minded individuals.